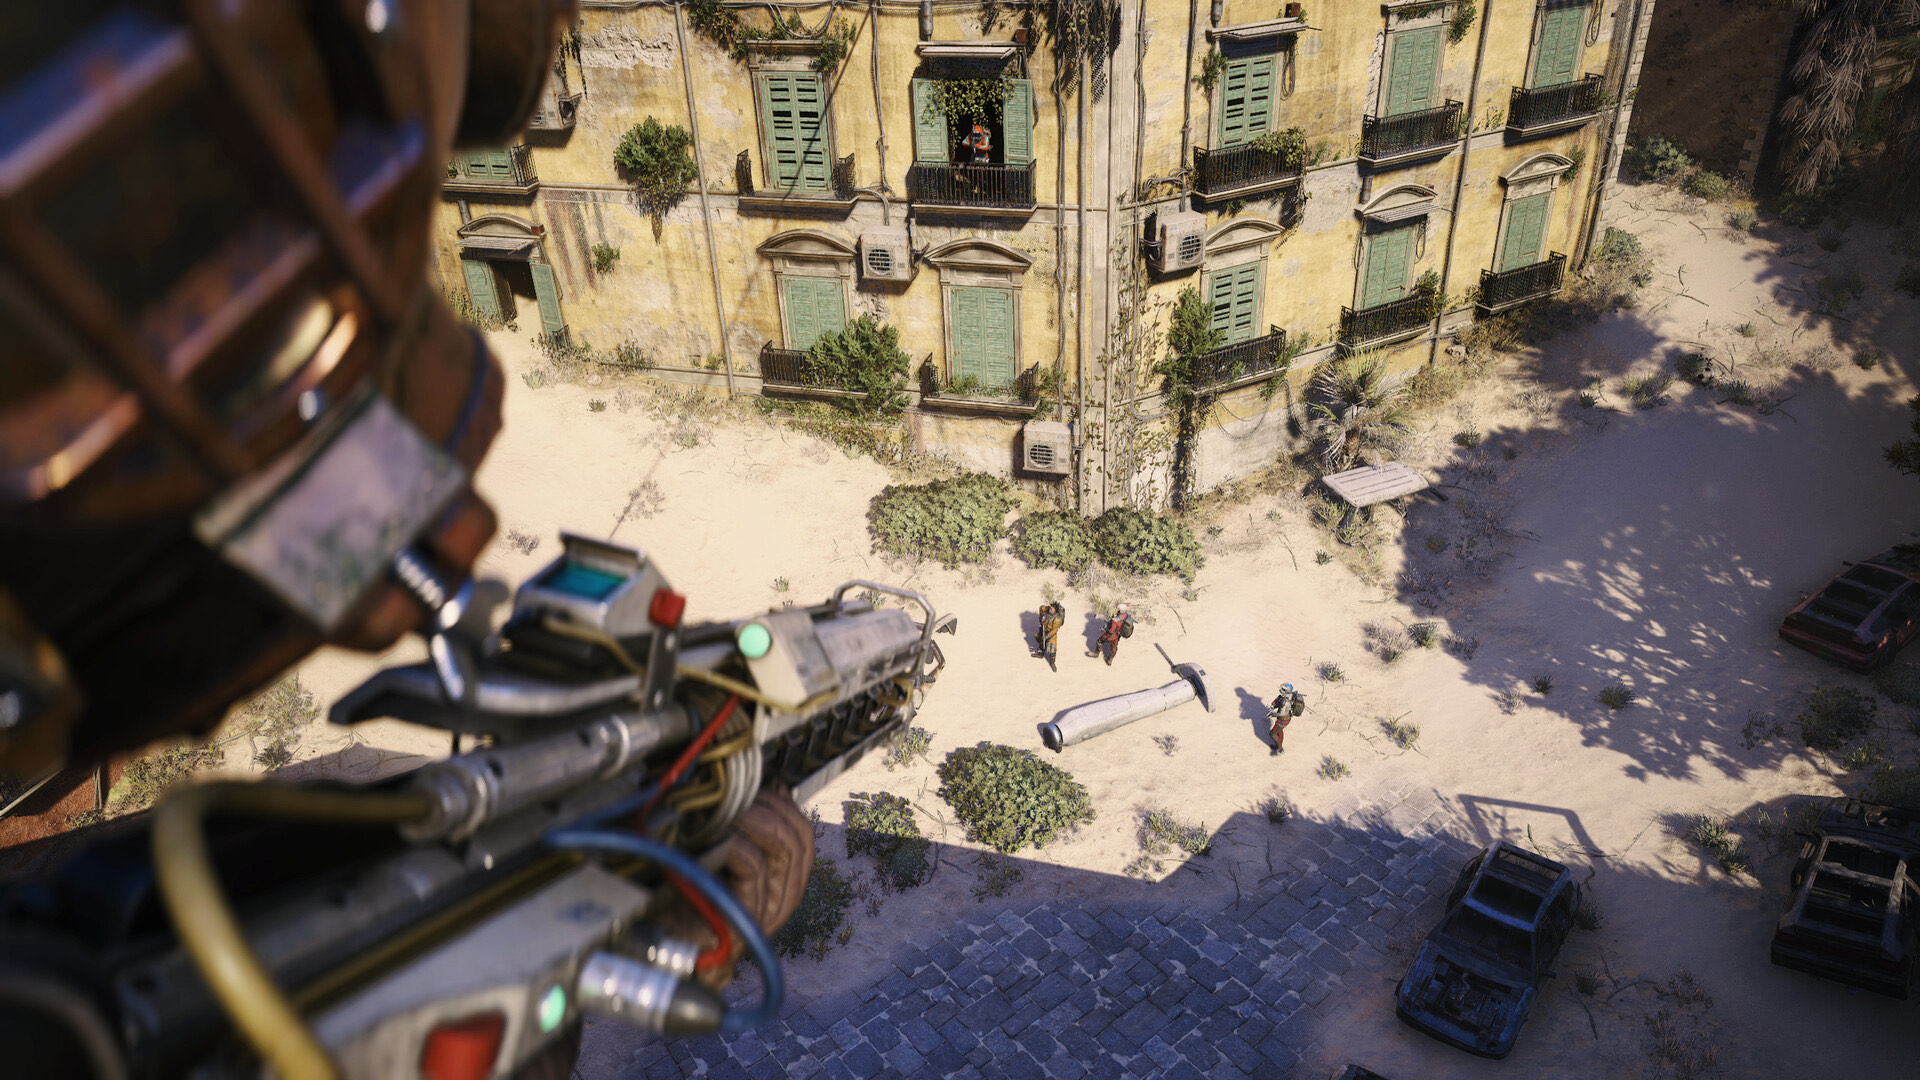
Crafting system overview
The ARC Raiders crafting loop lives inside Speranza. Every raid funnels raw scrap and schematics back to your benches, so crafting is the real power progression once you leave the drop ship.
- Scavenge: clear zones, open caches, and strip ARC machines for materials.
- Extract: only extracted items reach your workshop inventory.
- Assemble & upgrade: craft weapons, gear, and consumables while leveling benches.
- Iterate: test builds, replace losses, and reinvest profit into higher tiers.
Bench tiers matter
Tier 1 benches cover starter kits. Tier 2 unlocks rare blueprints and better consumables. Tier 3 is mandatory for legendary weapons, heavy shields, and end-game augments.
Materials & resources
Your stash fills fast, so prioritize the materials that bottleneck upgrades. Keep a rolling shopping list before every raid and ping teammates when you find rare drops.
| Material | Primary source | Best use |
|---|---|---|
| Metal Parts | Industrial yards, ARC walkers | Weapon frames + bench upgrades |
| Plastic Parts | Residential loot, supply trucks | Equipment, consumables, shields |
| Electronic Parts | Control rooms, drones, bosses | Tier 3 weapons & med tech |
| Rare Cores | ARC bosses, hidden bunkers | Legendary augments, bench tier 3 |
Inventory tip
Scrap weighs nothing, but material stacks cap at 50. Dump overflow into squadmates before extraction so nothing is wasted.
Weapon crafting playbook
The weapon bench determines whether your squad brings S-tier firepower or budget spray-and-pray kits. Always pair a premium build with a cheap backup so losses never stall your economy.
- Legendary focus: unlock Ferro sniper or Jupiter LMG before crafting vanity guns.
- Anchor loadouts: combine an expensive main weapon with a cheap sidearm.
- Stockpile calibers: keep plastics and electronics that match your favorite archetypes.
- Craft in batches: doing three rifles at once saves travel time in Speranza.
| Weapon | Tier | Key materials | Why craft it |
|---|---|---|---|
| Osprey DMR | 2 | Metal Parts ×25, Plastic Parts ×12 | Low recoil mid-range rifle for squad anchors. |
| Tempest SMG | 2 | Metal Parts ×18, Electronic Parts ×6 | Close-range shredder for stealth or PvP rushes. |
| Ferro Sniper | 3 | Metal Parts ×45, Rare Cores ×2 | One-shot potential with premium insurance payout. |
Equipment & augments
Equipment crafting keeps you alive between shots. Shields, augments, and mods all share plastics, so plan bench queues carefully.
- Shields: Tier 2 heavy shields smooth PvP fights; always carry a light spare.
- Augments: craft movement and reload augments first because they benefit any playstyle.
- Mods: suppressors and extended mags are cheap tools that turn blue weapons into raid-ready kits.
- Loadout parity: mirror the same augment set on all core builds to swap seamlessly after a death.
Consumables & med supplies
Med station crafting wins attrition battles. Consumables are cheap individually, but running out mid-season ruins momentum.
- Bulk craft: 20 bandages, 10 shield rechargers, and 5 medkits per session keep lockers stocked.
- Adrenaline shots: save these for boss phases or contested extracts.
- Special ammo: bring EMP or incendiary rounds when your squad hunts ARC machines.
- Insurance buffer: stash two extra stim stacks in Speranza for every raid-ready kit.
Advanced workshop mechanics
Advanced crafting hinges on time management. Unlocking benches early lets you respec faster than rival crews.
- Upgrade order: Weapon → Med → Equipment → Basic keeps progression smooth.
- Crafting time: legendary items take minutes of real time; start them before logging off.
- Insurance math: crafting a duplicate is cheaper than buying it back from insurance.
- Squad roles: specialize who farms which mats so you never fight over plastics vs. electronics.
Interactive crafting calculator
Use the planner below to calculate total materials and scrap before you touch a bench. It prevents wasted raids and keeps squad shopping lists synchronized.
- Search or filter recipes by category.
- Add planned crafts to the queue and adjust quantities.
- Review the materials summary to confirm you have enough stock.
- Screenshot or export the totals before the next deployment.
Select items to craft
Weapons
Pistol
Weapons
Bobcat SMG
Weapons
Arpeggio Rifle
Weapons
Whisper Silenced SMG
Weapons
Tempest Rifle
Weapons
Osprey Sniper Rifle
Weapons
Ferro Sniper Rifle
Weapons
Jupiter Sniper Rifle
Weapons
Thunder Shotgun
Equipment
Light Shield
Equipment
Standard Shield
Equipment
Heavy Shield
Equipment
Small Backpack
Equipment
Medium Backpack
Equipment
Tier 2 Augment Set
Equipment
Tier 3 Augment Set
Consumables
Advanced Ammo Pack
Consumables
Grenade Crafting Kit
Consumables
Special Ammo Pack
Consumables
Advanced Explosive Kit
Consumables
Bandages
Consumables
Medkit
Consumables
Shield Recharger
Consumables
Adrenaline Shot
Consumables
Advanced Medkit
Mods
Basic Weapon Mod Kit
Mods
Advanced Weapon Mod Kit
Mods
Extended Magazine
Mods
Suppressor
Add items from the list above to calculate total materials needed.
Efficient material farming routes
Efficient material farming beats RNG. Run purpose-built loops instead of looting every drawer on the map.
- Industrial sweep: Power Plant → Loading Docks → Conveyor Maze for metals.
- Residential crawl: Mid-town Apartments → Roof Caches for plastics and fabrics.
- ARC hunt: Satellite Array → Water Control for electronics and rare cores.
- Dual extract: Hit two small hunts then exit early to bank mats safely.
Optimization & economy tips
Treat crafting like an economy mini-game. The goal is to convert every raid into higher-quality kits with minimal downtime.
- Tag everything: label stash tabs by build so you notice when a category runs dry.
- Batch insurance: insure two builds at once so losses never leave you naked.
- Recycle: dismantle unused blue weapons to recover plastics for consumables.
- Season goals: set weekly craft targets (e.g., 3 Ferro rifles) to stay motivated.
